If you haven’t heard about Google’s Core Web Vitals or the Google Page Experience Update yet, I highly recommend you make it a priority at some point. Not only can you lose rankings, traffic, and earnings if you are not optimizing for Core Web Vitals, but it simply makes your page experience better for all of your users, ultimately resulting in a more successful website.
In this article, I’m going to cover everything you need to know about these topics and how AmaLinks Pro® fits into the picture.
Here are 10 easy non-technical optimizations you can make to get a much higher Core Web Vitals score.
The Google page experience algorithm update was rolled out in mid-June 2021 and includes multiple ranking signals which are Core Web Vitals, mobile-friendliness, safe browsing, HTTPS, and intrusive interstitials (large amounts of content obfuscated behind ads or other content).
These terms may be unfamiliar or sound like another language, so let’s take a look at what each of these signals is about in easy-to-understand terms.
This is the easiest signal to understand. Is your web page mobile-friendly? You can test your pages with Google’s official mobile-friendly test.
Google’s mobile-friendly test looks for 4 things:
The Google mobile-friendly test is limited though, as it only allows you to test one page at a time. Here is a good mobile-friendly test tool that automatically tests multiple URL’s for the domain that you enter.
The easiest way to see how well your website is performing is using the Google Search Console Page Experience Reports. If you do not have the Google Search Console verified and connected to your website, you’ll need to. You can get started with the Search Console here.
These page experience reports tell you how many pages in your website are passing, need work, or are failing, and what areas need attention.
Now, let’s take a look at the most complicated part of the Google Page Experience Algorithm Update, Core Web Vitals.
Now let’s talk about the last part of the Page Experience Algorithm Update, and the most complicated part, Core Web Vitals. To understand Google’s Core Web Vitals, you have to wrap your head around a few different concepts. Let’s start at the beginning.
Here are the three Core Web Vitals metrics that Google uses to rate a web page’s user experience, and what they mean to you.
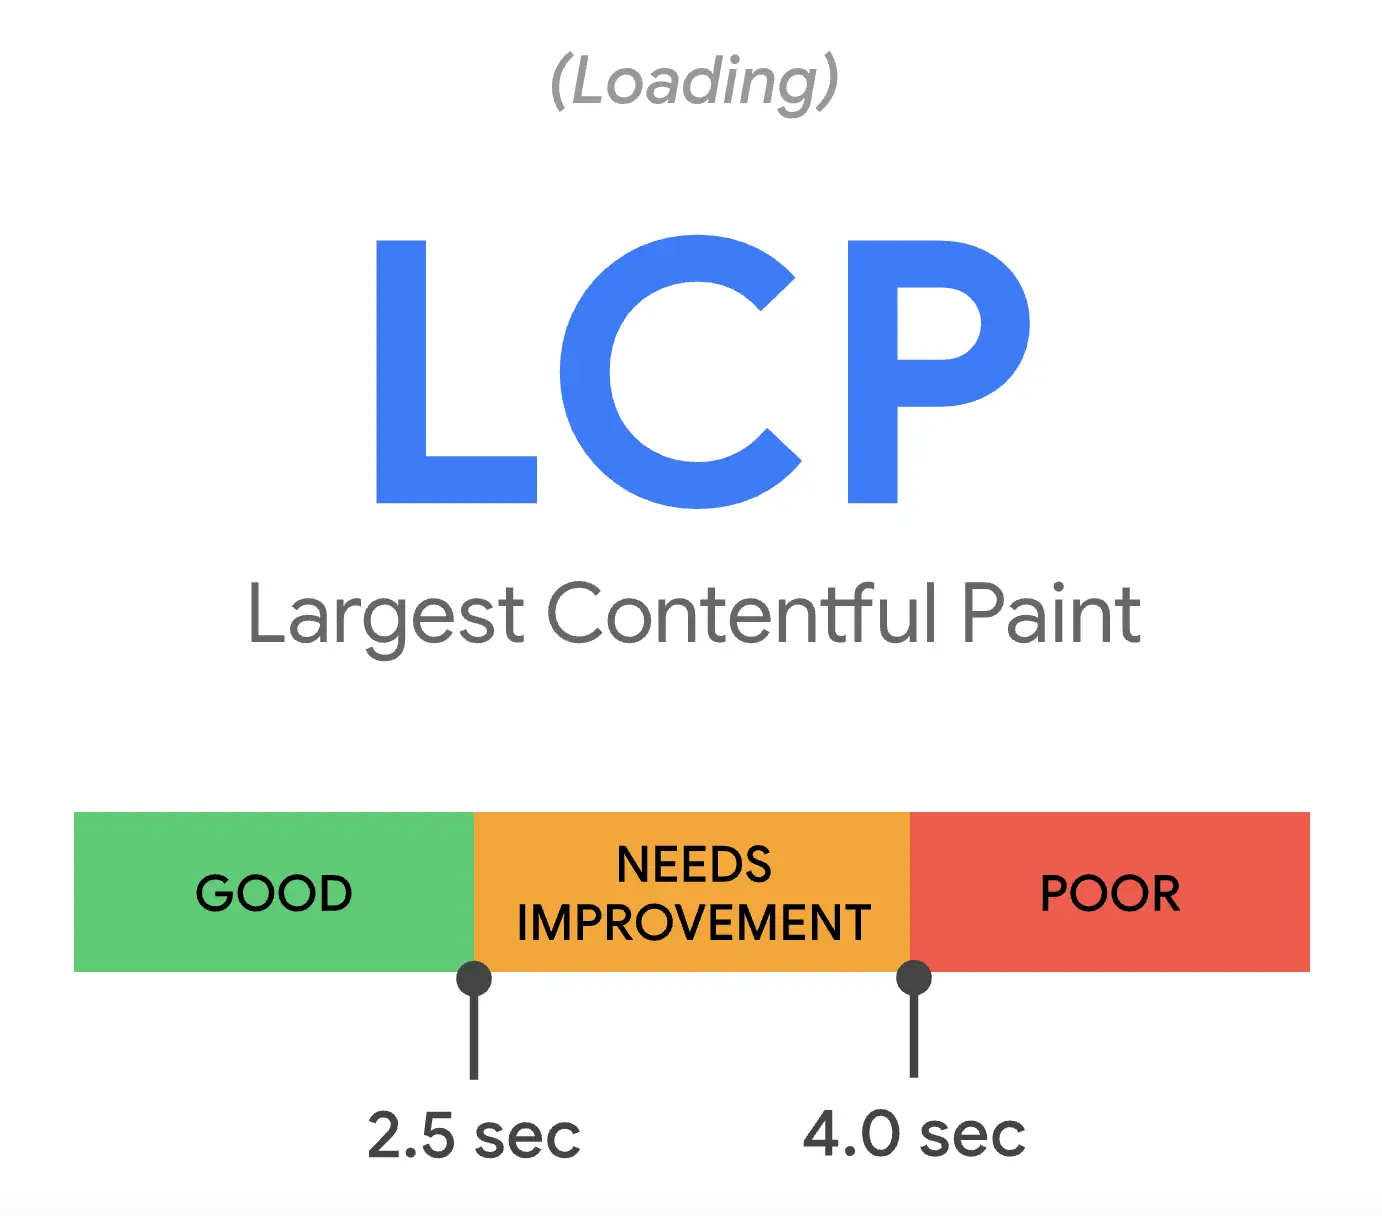
Largest Contentful Paint is essentially a metric that gauges a user’s perceived load speed, which is when most of the visible content has been loaded into the page. It doesn’t measure the entire page load speed – only the time until the main content has finished displaying, because that is enough to please a website visitor and let them start consuming the page content.
LCP, or Largest Contentful Paint can be tricky to understand because it is made up of how long the largest element on the visible screen takes to load, on top of how long the page took to even start loading that element.
So if you have a giant non-optimized image above the fold – this could give you a low LCP score even if the image started to load very fast due to a fast page load speed, but took a long time to load the actual image itself.
The largest element on the page may only be a simple paragraph that takes virtually no time to load or display – but if the server takes too long to respond and send the page back – you could still get a low LCP score on that paragraph even though the element itself is tiny and fast to load.
Here is an easy way of thinking about it.
Largest Contentful paint = Initial page load speed until the largest element is done displaying.
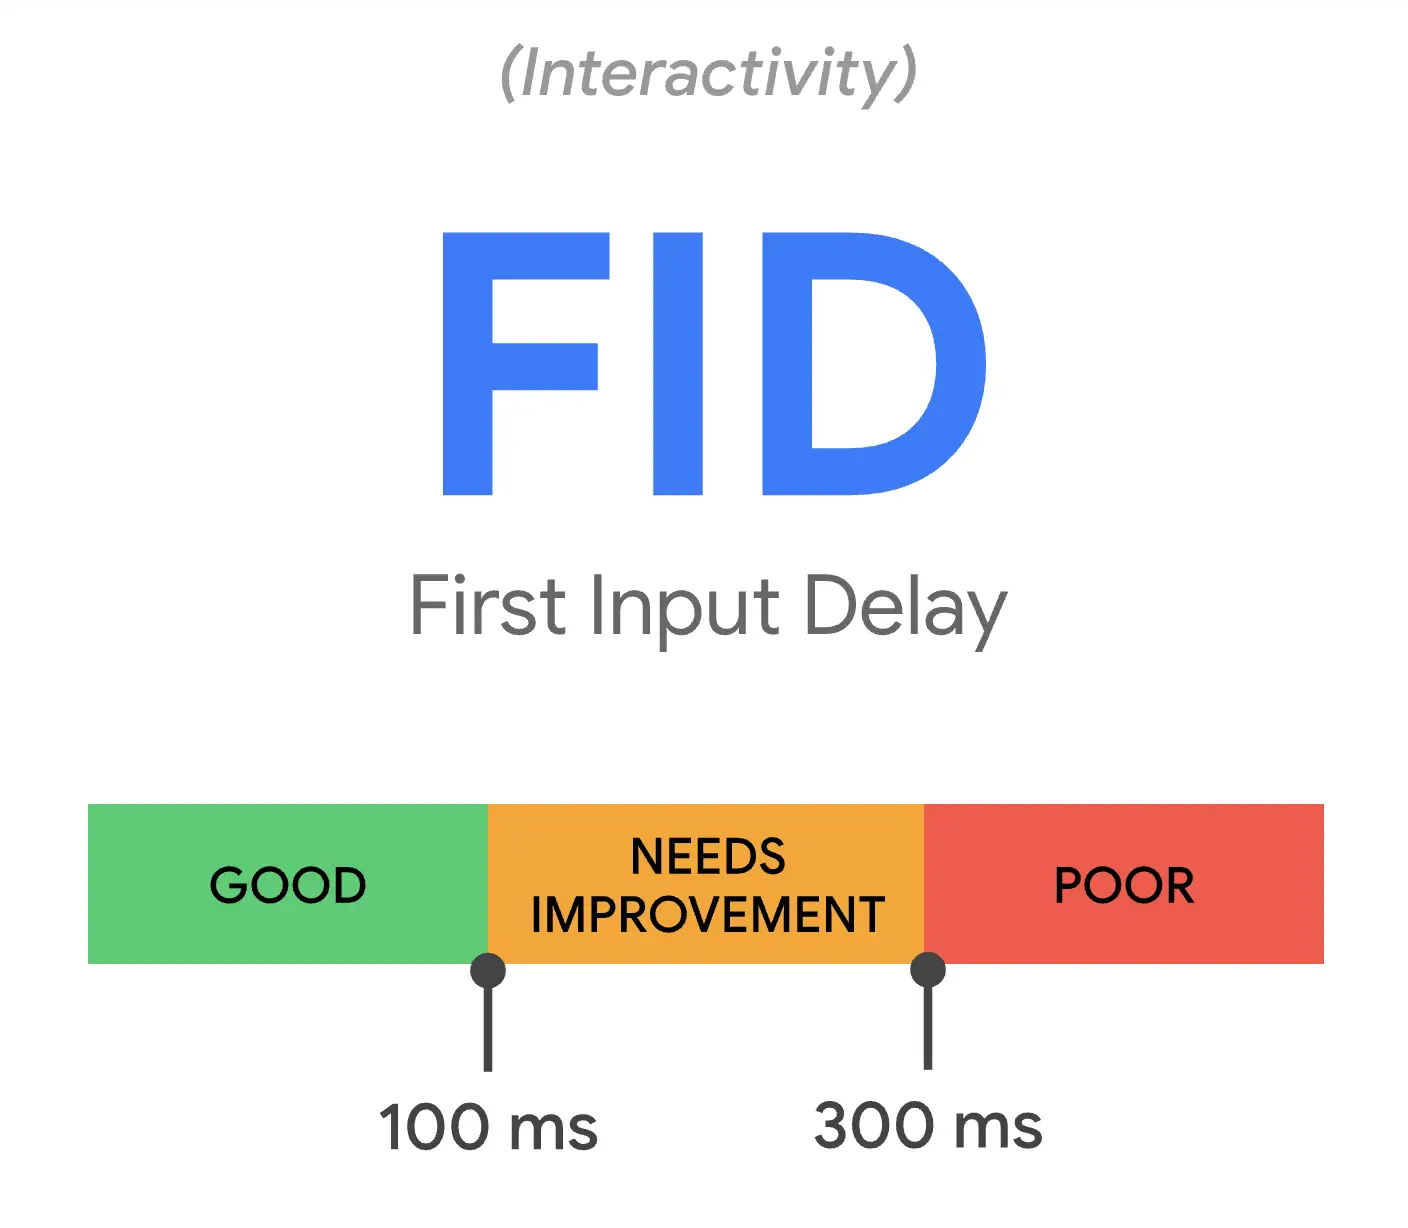
First Input Delay is easy to explain. Not only do website users like when a page loads fast, but they want the page to respond as fast as possible the first time they interact with it, say clicking a button. The problem is, often a page is still loading and the response to the user’s action takes a while, which causes friction in the user experience.
FID, or First Input Delay, is the time it takes from when a user interacts with your page, and how fast your page reacts. It is not the same as how long it takes to load your page, it is how long until your page becomes interactive and ready to go.
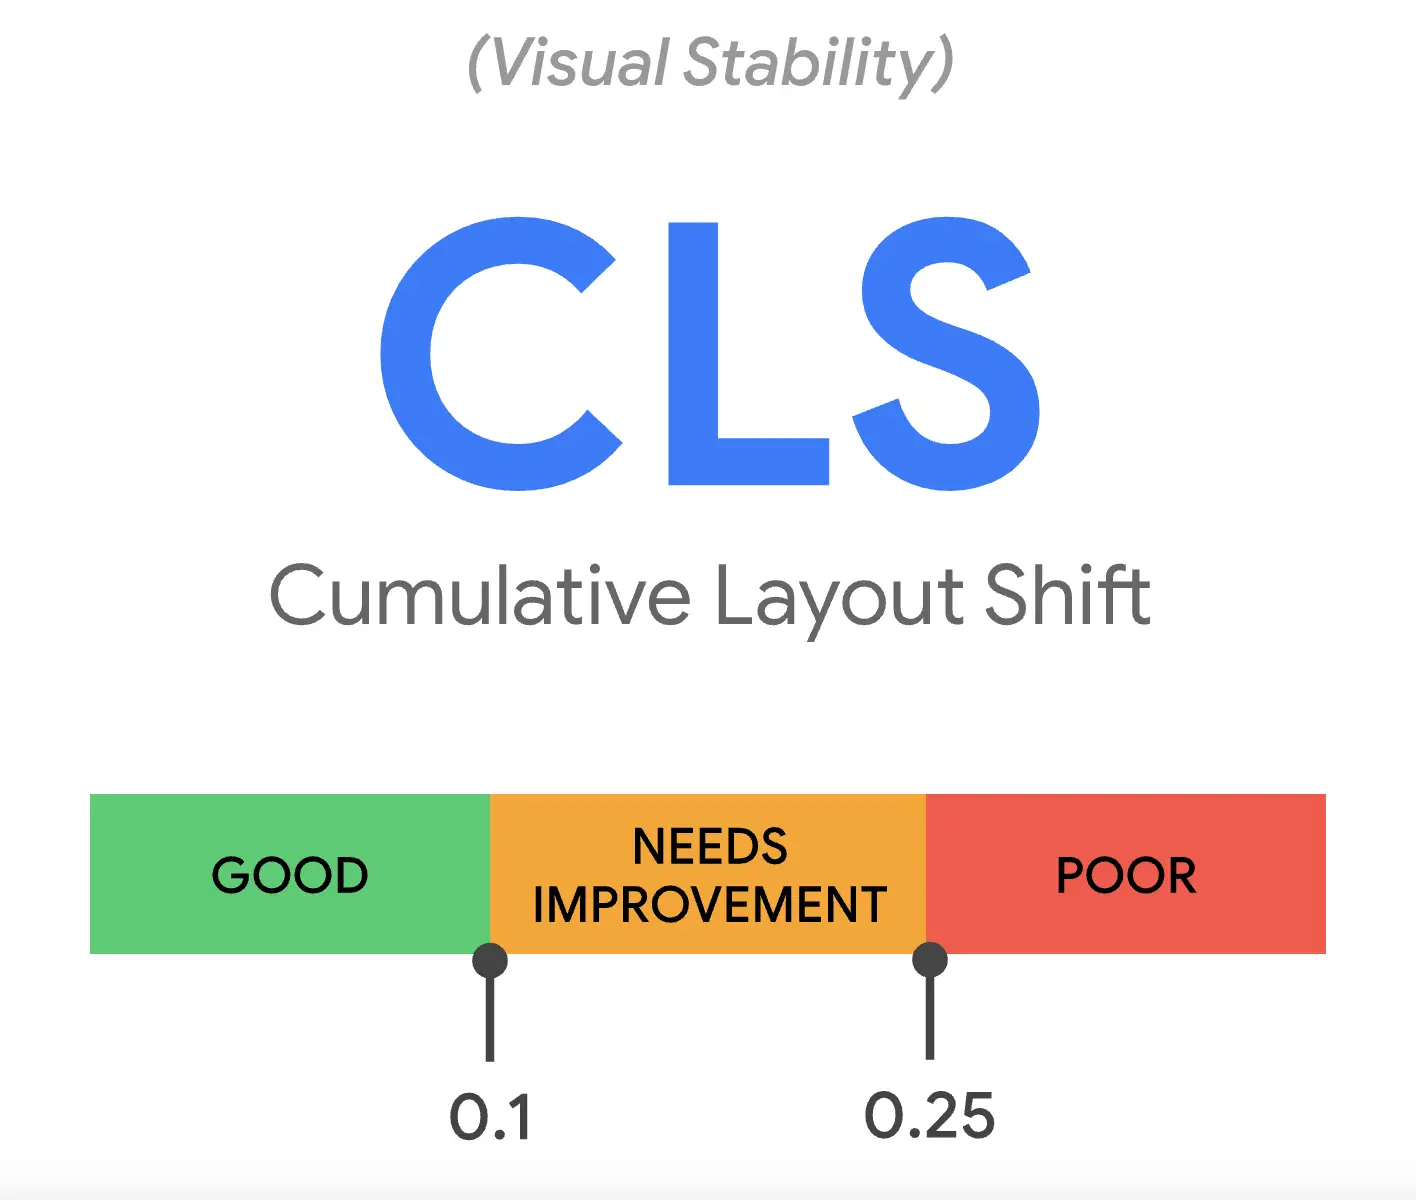
Cumulative Layout Shift measures the visual stability of your webpage, specifically the part that your website visitor sees upon load. It’s easy to see if you have an issue with an unexpected layout shift. Load your web page and if you see things move around as content loads in – that all contribute to your CLS score.
Users (thereby Google) want websites to look stable. It offers a sense of quality and assurance to the visitor that they are not wasting their time with you. Google sees this as a great indication of user experience quality to judge you by.
Essentially, Google wants you to make your webpage visitors happy with the way your website loads and performs, especially on a mobile device.
Google uses the three Core Web Vitals metrics that they believe best represent an overall good user experience. If a webpage passes the thresholds for each metric, the page achieves a passing green score of 90 or higher because this indicates that your webpage has a good user experience, and Google ultimately wants to deliver users the best results they can.
Whether you like it or not, users often express dissatisfaction overall on website performance and mobile optimization across the web. Google has taken notice and is doing this algorithm update to force developers across the globe to put more effort into making websites a great experience for the end-user.
* When testing any webpage for performance, make sure to run your tests multiple times and you will usually see slightly different results each time. This is because websites, servers, and Google’s testing tools all affect the end results and there are many variances and fluctuations that happen when serving web content.
Use the average of the results as your guide. Sometimes servers run slow, sometimes they run fast.
Measuring Core Web Vitals is easy and there are a few different methods you can use.
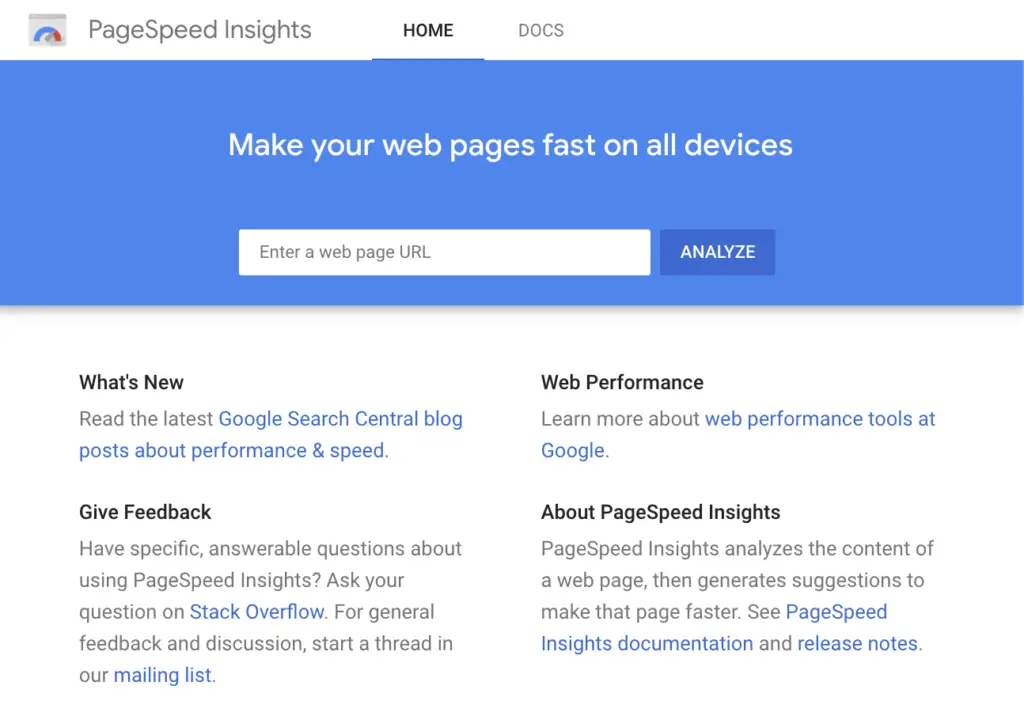
Example: Google PageSpeed Insights
Here is an easy-to-understand list of 11 steps to optimizing for a high Core Web Vitals score. This is to give site owners an overview of the steps required to optimize your website for a great page experience.
At the bottom of this article, we have a list of resources to help you with all of the technical aspects of optimizing your website.
If your servers are slower, your website is slower. Shared hosting shares server resources, meaning that the load on one website affects all of the websites on that web server. Use a dedicated server if you can afford it for the fastest page speed, a virtual private server, or at least high-quality optimized hosting with advanced caching and CDN features.
It’s essential that your website is secured using what’s called an SSL Certificate. It’s also important that your domain name servers are set up correctly and you have minimal redirects. Most people are okay, but it’s good to double-check.
One easy way to speed up your website is using a Content Delivery Network. This caches and distributes your website assets to servers in different geographical locations across the globe. This in turn helps the assets load faster for people by serving the files from the closest CDN point. Some hosting platforms like WP Engine have plans that include a CDN, and there are multiple CDN services available.
It’s essential that you use caching to improve the performance of your posts and pages, and it’s easy to do. Many hosting services like WP Engine and SiteGround offer powerful caching options, and there are some very popular WordPress plugins available too.
All good caching and performance optimization plugins and services offer features for combining and minimizing your CSS and JavaScript. There are some popular WordPress plugins like Asset CleanUp and Autoptimize along with others that make this easy. It may take a little trial and error, so you will definitely want to run a full backup and put your website “under construction” or on a staging server for testing.
Sometimes themes and plugins load JavaScript that is needed on the current web page, but not until after the whole page is loaded. Deferring JavaScript is a little trickier, and may require a premium plugin. We do recommend that you use high-quality caching and asset loading plugins on your website for ultimate page performance. Asset CleanUp Pro is a great option that gives you a lot of control over how your website assets are loaded. There is also a Free version.
Image files are much bigger in file size than plain text, so every image adds significant load time when time is so scarce. It’s essential these days to use image caching, compression, lazy-loading, and ideally, WebP images to get the fastest performance from your website content.
There are many image optimization plugins available such as WP Smush that make this easy.
WebP images are a new type of image file created by Google that supports transparency, animations, and provides even higher quality images at a much smaller image size. WordPress supports WebP images as of version 5.8.
There are also plenty of image optimization plugins that offer WebP conversion, and enable them in WordPress.
Many plugins add scripts and other files that are downloaded and parsed on all of your WordPress pages, whether the page uses them or not. Loading unnecessary resources is a complete waste of time. The fewer plugins you use, especially ones that add styled content to your website, the fewer files will need downloading and parsed. This results in a quicker load speed and a better page experience – without losing anything from your page.
Many themes (and pagebuilder plugins) use a lot of HTML and load a lot of extra files to achieve the visual masterpieces they are. Some themes are so heavy that it’s not even possible to get a passing Core Web Vitals score.
To have a high-performing website – you have to have a high-performing lean and clean theme.
 One of the more technical aspects of web page performance is how and when website assets are loaded. Optimizing asset loading can often provide the final boost you need to get great passing scores. The free WordPress Asset Cleanup plugin offers some great asset loading functionality that can really help your score, but you really have to know what you are doing to efficiently use one of these plugins.
If you optimize your asset loading, remember to run a full site backup and test test test.
This is another advanced technique that can really help speed up a webpage and provide an ultra-fast snappy page experience.
The idea is that you move all of your essential CSS into your HTML <head> tag, meaning any styles that affect the main structure along with any CSS styles used above the fold. Then you defer loading the rest of the CSS until after most of the main content has been loaded, similar to deferring JavaScript.
In other words, the styles that the user would see right away upon loading your page. This small amount of CSS will be loaded extra fast since it is right within the HTML document, and the rest loaded later.
This is a great advanced technique for those who know how to implement it. For the non-technical website owners, there are some core web vitals optimization services emerging, or you could hire a freelance developer to assist you.
As I mentioned in the beginning, this is a very large technical complex topic, and Google is making all website owners catch up, or lose rankings. It’s also important to realize that this is very new for WordPress software developers as well.
Software development takes time, and Google did not give enough time for everybody to get caught up in their code. Heck, that’s why Google delayed the launch of the algorithm update in the summer of 2020.
Here is what you need to know about how AmaLinks Pro® fits into the picture. Does a web page running AmaLinks Pro® pass Core Web Vitals and receive a passing Page Performance score?
Read on to learn all about it, or test AmaLinks Pro® for yourself first, then come back and read about what you saw in action.
![]()
IMPORTANT * To pass Core Web Vitals – the AmaLinks Pro® plugin must be updated to version 2.1.2 (or later), and the Table Builder add-on must be updated to version 1.5.8 (or later). AmaLinks Pro® plugin updates are only available to valid and current license holders.
AmaLinks Pro® has always strived for high performance and since the announcement of Google’s Page Experience Update and the core web vital metrics we’ve paid even closer attention. We have made sure that a well-optimized website running AmaLinks Pro® passes the Core Web Vitals tests.
We update AmaLinks Pro® many times throughout each year and will continue to improve and optimize performance over time, following all WordPress standards and best practices required for high-performance dynamic web content.
AmaLinks Pro® is optimized and passes Google’s Core Web Vitals test on a properly optimized website. Not only can we tell you it passes, we can show you a live example. (Score may vary slightly each time)
Click here to see our live core vital scores
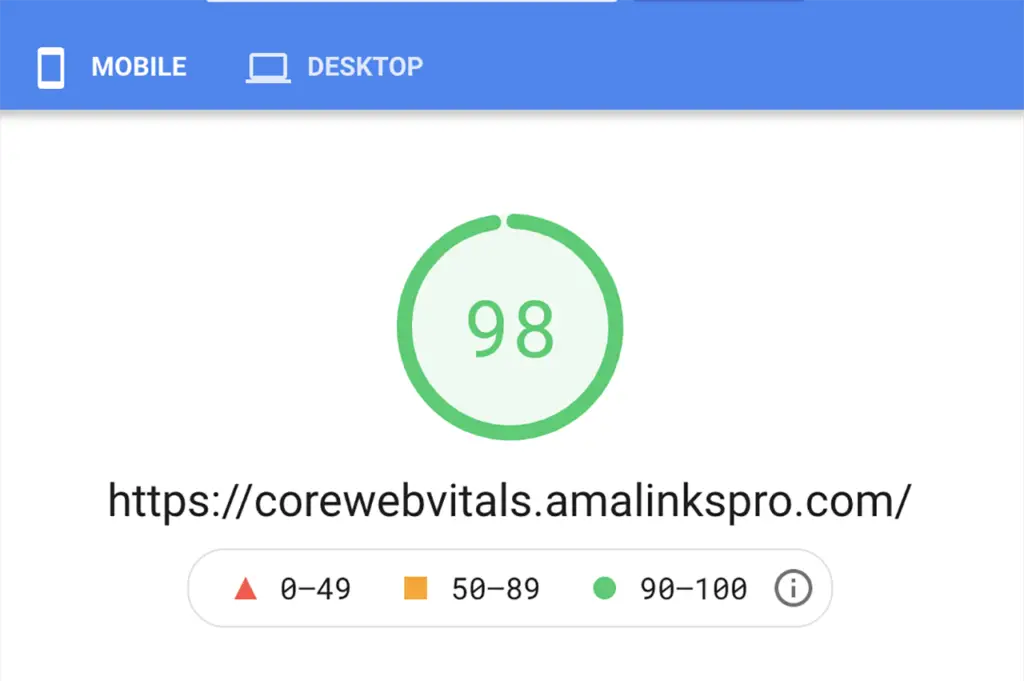
Follow that link and you will find a fully optimized website with AmaLinks Pro® running and it passes with a high green score. We have added a homepage that uses Advanced Custom Fields to build a custom template similar to those offered in many optimized themes, a page built using the classic editor, and a page using the block editor.
All three pages get high passing web vital scores.

AmaLinks Pro®’s API calls do not add any time to your page load time because they only run 100% after your webpage has fully loaded.
In fact, the code that runs all of our Amazon API calls and other showcase & comparison table user interactions is “deferred”.
Deferring JavaScript means that the JavaScript that AmaLinks Pro® requires is not added in the <head> tag, which blocks web page rendering, and is instead loaded after most of the HTML before the closing </body> tag resulting in the main content being loaded onto the screen faster, thereby improving page load time and improving user experience.
This pleases Google’s Core Web Vitals scores and helps improve your FID and LCP scores by loading our script after the page has been mostly rendered.
In fact, all of our JavaScript and user interaction scripts are deferred and non-render blocking,
AmaLinks Pro® does quite a bit behind the scenes to optimize for a great page experience. It’s our job to keep up with Google’s page experience metrics.
Here is a list of what we do to assure we are as performant as possible in the ever-changing world of website performance.
Amazon sometimes takes a few seconds to pull data from the API. This would block your entire page from loading and displaying, but loading our JavaScript after the page has loaded prevents this and significantly reduces your page load time
Loading any JavaScript at the start of a page load blocks the visible page from rendering for a time. Loading our JavaScript after the page has mostly loaded prevents this added load time, and significantly reduces your page load time. This is called deferring your JavaScript. AmaLinks Pro® scripts do not need to run until the page is loaded anyway, so we do not block rendering by deferring the loading of our scripts, shaving even more load time of your web pages running AmaLinks Pro®.
The larger your file, the longer it takes to load. AmaLinks Pro® keeps its code as lean and optimized as possible, resulting in less load time for your web pages.
This is an area where we will always have room for improvement, and as our customers who have been with us for years know – we are fully dedicated to updating and making AmaLinjks Pro the BEST Amazon Affiliate WordPress Plugin available.
This is now required to achieve a great score, and all images within your website need to have height and width attributes present in the code.
In order to make your files load as fast as possible, the code should be minimized. This strips out any extra spaces, hidden code comments, and makes the code as small as possible so a computer can download it and read it as fast as possible.
Similar to the Amazon API calls and Showcase Prices, all Table JavaScript is loaded after the page has loaded, and the responsiveness does not kick in until after the page load is finished.
This behavior is required for optimal page performance. You may notice that the table displays as a regular table, and then you will see it shift into a responsive advanced table.
This shift is necessary for two reasons. The first reason is that your entire page would be very slow if we loaded the JavaScript, made the API call, waited for Amazon, parsed the code, and only THEN put something on the page for the user to see – that would provide a very bad experience to the user and a slow loading page.
Google and your Core Web Vitals score would not be pleased!
The second reason is called progressive enhancement. If there is a user without JavaScript, or something happens to break the JavaScript on the page – your table and all of the affiliate links are still visible and active, so you do not lose out on commissions because of another plugin or theme breaking your page.
Websites everywhere are publishing guides on optimizing for high Core Web Vitals scores. It can be a little overwhelming for non-technical web content creators and publishers – information overload.
It can be hard to make sense of it all, don’t worry you are not alone.
If you read this article and are still confused, I recommend that you come back in a day or two, after it marinates in your head for a while, and read it again. Then dive into some more resources to improve your own page experience scores.
There are already a ton of plugins that can help you optimize for high passing Core Web Vitals scores. Here are some of the best.
Here are 10 easy non-technical optimizations you can make to get a much higher Core Web Vitals score.

Website performance and user experience are extremely complicated topics. They are so complicated, in fact, that there are even many different related careers that you can make just from one aspect of it.
If there is one thing you should take away from this article, it is a basic understanding of the terms and concepts presented here. This is not a complete guide, and you do not need to master all of this overnight.
Optimizing for performance and user experience requires time, trial and error, and patience. It’s often a process that requires testing different methods, and every website can have different circumstances that require special treatment.
The best thing to do is review our list of 11 steps to optimizing your WordPress website for Core Web Vitals, and start from there. Check all of the easy stuff off like using HTTPS, fast web hosting, caching, and a CDN.
Often times that is all that is required to get a great passing Core Web Vitals score. If not, you know you now have a solid base for a high-performing website, and you can learn more and take it to the next level. Only after you beat level 1 though.