 Chapter 4 – Monetizing your Content
Now we’re getting to the really good stuff! Your website has some useful information, a product review, and a top ten list all ready to monetize.
Until now we have left out all affiliate links for a few reasons.
The first reason is that I wanted you to be 100% focused on writing your content and getting your site ranking in Google as fast as possible. You won’t get much traffic right away anyways, so don’t waste time monetizing when your content is not even ranking yet. You’ll get faster results by monetizing after your website is up and running.
The secondary reason is that you don’t want to signal to Google that your website’s only purpose is to generate affiliate commissions for yourself. By leaving out all of the affiliate links as your site gets off the ground sends Google signals that your website is all about quality informative non-commercial content.
Google sees this as valuable to the user and will hopefully rank your website in the search results faster. Focus on high-quality content first, then monetize.
Focus on high-quality content first, then monetize.
That’s all great while you’re building up to your website’s full set of “starting” content, but now it’s time to monetize!
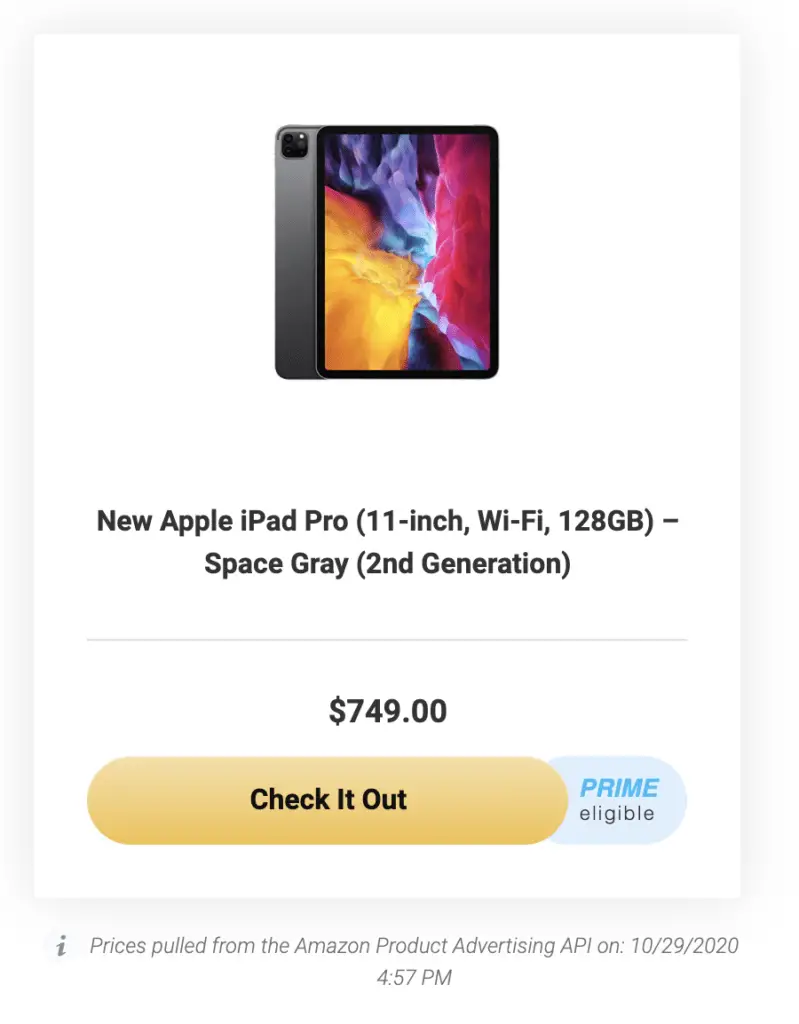
We’ll be adding plain links within the text, image links, product showcase boxes, comparison tables, and call-to-action buttons – all guiding your website visitors through your affiliate links earning you commissions!
Let’s get started!
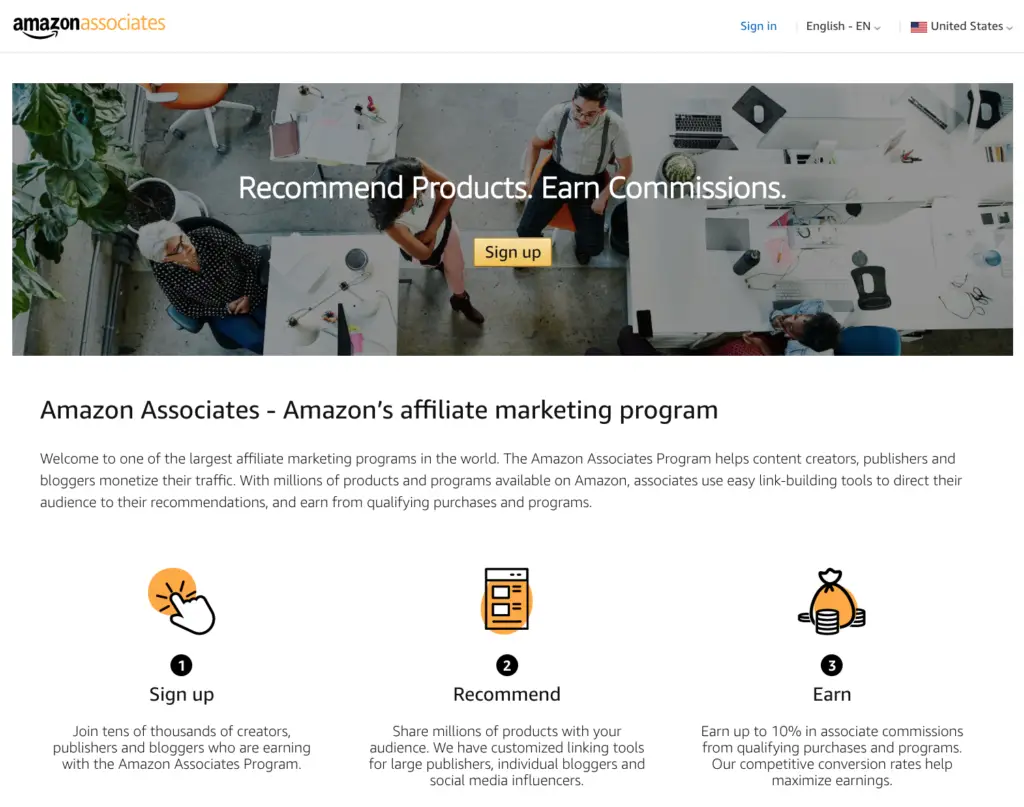
The Amazon Associate Program is 100% FREE to join.

If you are already an Amazon affiliate, you can skip over this section and dig right into monetizing your posts as outlined in the sections below.
If you are NOT an Amazon affiliate already, visit our article on all of the countries that have the Amazon Associates program available.
Find your country of residence and sign up for the program. If your country does not have its own Amazon affiliate program, many of them allow people from ANY country to join.
I recommend signing up for the United States affiliate program unless your website solely targets visitors in your native language, because of the volume of sales.
This tutorial is all about high-performance, and that applies to Amazon affiliate linking as well. We will be using the AmaLinks Pro® plugin to insert all of our affiliate links to make it as fast and easy as possible. You can purchase AmaLinks Pro® here if you still need to.
If you are a brand new Amazon affiliate without any successful commissions in your account, you will not be given access to the Product Advertising API right from the start.
In the past, this would have prevented you from benefiting from the high-converting time-saving features that the best Amazon Affiliate plugins offered.
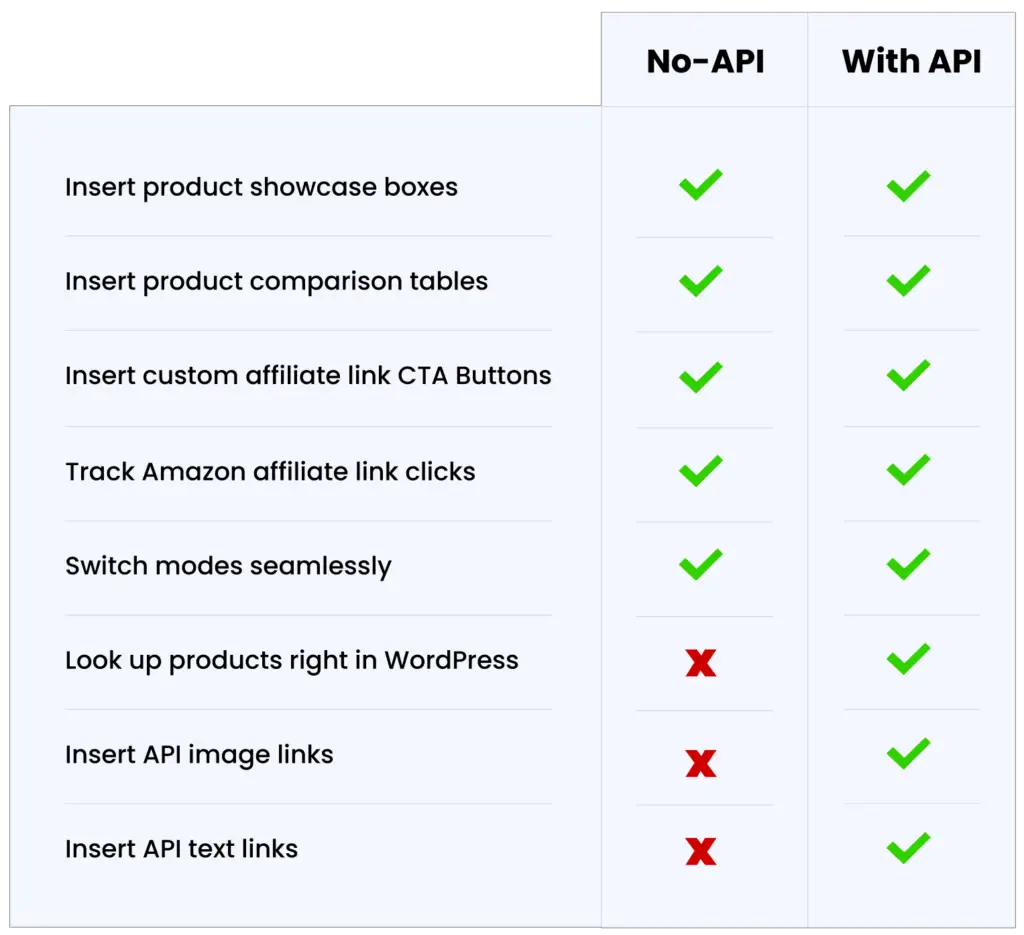
AmaLinks Pro® however has a No-API mode built-in so you can start adding high-converting product showcase boxes and product comparison tables right away.
This will help you achieve the minimum of 3 successful sale referrals Amazon Associates requires to gain access to the API. Once you earn your first 3 successful commissions, you can turn off the No-API mode and use AmaLinks Pro® with the API from thereon.

Here is a link to the AmaLinks Pro® No-API Link Creation Tutorials. Read through that tutorial first to see what your linking options are and how to use them.
You will also need to use the Amazon SiteStripe tool in conjunction with AmaLinks Pro® to get the best results. Here is a tutorial on how to link with the Amazon SiteStripe Tool.
Here is a link to our tutorial on everything you need to access and connect to the Amazon Product Advertising API. This will get you all set up and connected.
Here is a link to our tutorials on all of the AmaLinks Pro® basics. These tutorials will teach you all of the basic link types AmaLinks Pro® can create with the API.
Here is a link to our tutorial on using the AmaLinks Pro® product comparison table generator. The responsive product comparison table builder deserves a whole tutorial of its own. This can be a very powerful way to get a lot of clicks on your Amazon affiliate links.
 Adding Amazon Affiliate Links to your Informational Article
Let’s start here. Your informational article should be rather long and informative. The objective for monetizing this type of article is to work in affiliate links naturally within the text and images. You can also add product showcase boxes and comparison tables where appropriate, but don’t force them.
The idea is to keep the article focused on the information, while quietly adding multiple affiliate links or links to your product reviews and top ten recommendations.
This will provide the reader lots of opportunities to click your affiliate links, while not distracting them from the main information.
* If you have trouble finding places to naturally add text links, images, or the product showcase, you can re-write some of it or add to it and write in opportunities to use your affiliate links. Get creative!
* Or you could add a new section called “Related Products You’ll Love” and add information about 2 or 3 related products. Get creative!

Adding affiliate links to your product review is very easy because it is designed to entice readers to click one of your high-converting affiliate links.
 Remember when we wrote your product review using our outline?
I had you skip all of the affiliate content added with AmaLinks Pro®, but now it’s time to add it!
Here is the demo product review post for you to use as an example. When you are finished with your product review, it should be almost exactly the same format as this example – just a different product and all different text.
* By now, you should be familiar with how to add all of the AmaLinks Pro® link types with or without the API, whichever method you are using. I won’t divide the tasks by No-API mode and API mode from here on.

This is another easy post to monetize. The point of the post is to recommend a certain number of products, give the reader a small amount of information about each product, and entice them to click your affiliate link to learn more.
Once you have all of your posts monetized, you are ready to move on to the next chapter and put the final touches on optimizing your website’s technical performance.
Now that you are monetizing your website, you can go ahead and do it at the same time as you write your content. Your website is up and running and it’s time to grow your content!
As soon as you have three successful Amazon commissions in your Associate’s account, you are eligible for the Amazon API. Here is a step-by-step tutorial we wrote with everything you need to know about the Amazon API and get it connected.
I recommend this because it unlocks the ability to search for products to link to right within your WordPress dashboard, and you no longer need SiteStripe at all to create image links.
With the Amazon API, you can utilize the full power of AmaLinks Pro®.